A small part of my job requires keeping eight Ubuntu desktops updated. While it’s easy to add the commands to update them to cron, I’d rather watch the updates occur in front of me in case something goes wrong. That’s where Keyboardcast comes in. Keyboardcast will take over or open as many Gnome Terminals as you’d like, and lets you enter text into all of them at once. It will also take over other windows, which may be useful for something, perhaps as keeping a log of all the commands you’ve entered in a text editor.
The benefit of using Keyboardcast is that it is quick to connect to multiple machines. It’s included in the Ubuntu Universe repository, and after a “sudo apt-get install keyboardcast”, anyone can control a group of computers easily. Here are the steps:
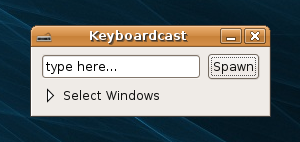
- Start Keyboardcast
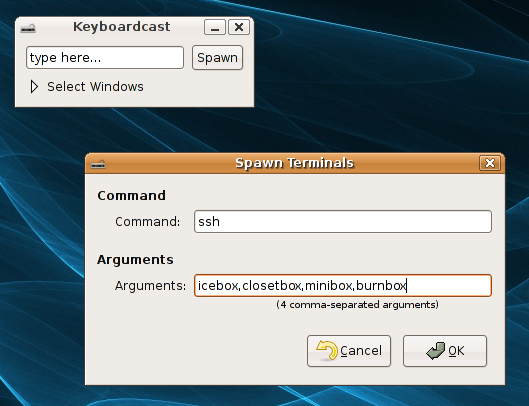
- Click Spawn and enter the command and arguments to use. Normally just changing the arguments to the correct hostnames is all that is needed to get started. More arguments, such as different users at different computers can be added. Although if you’re using SSH with different users, you’ll want to use passwordless logins to skip entering different password.
- After clicking OK terminals will open. Click where it says “type here…” in the small Keyboardcast window and start typing. Typing will show up in each terminal letter by letter.
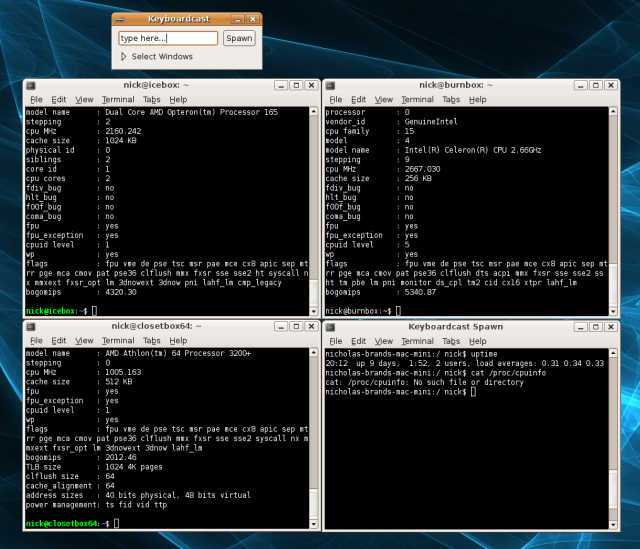
Having multiple terminals visible all the the same time makes watching for errors easy. If there is an error, it will on be the term which looks different. By setting up a new profile in Gnome Terminal called “keyboardcast”, you can change the window and font size of the terminals which are automatically opened by Keyboardcast.
Other Options for Controlling Multiple Terminals
Cluster SSH (cssh)
Cluster SSH came out before Keyboardcast and works in a very similar manner. There is a small window to enter text, and it uses multiple xterms by default instead of Gnome Terminals. Multiple computers can be scripted to open at the command line.
Konsole
Konsole is the default terminal for KDE and allows sending text to multiple tabs at once. Once open, hit View, then “send input to all sessions”. To see results, you’ll need to switch between tabs.
multi-gnome-terminal
MGT allows connecting multiple tabs together with tabs similarly to Konsole. Hit File, then “All bonded”.
Tentakel
Tentakel is unique from the other options because it has the ability to display data from multiple hosts all in the same terminal window. It makes a good solution if X is not available.
More:
pconsole